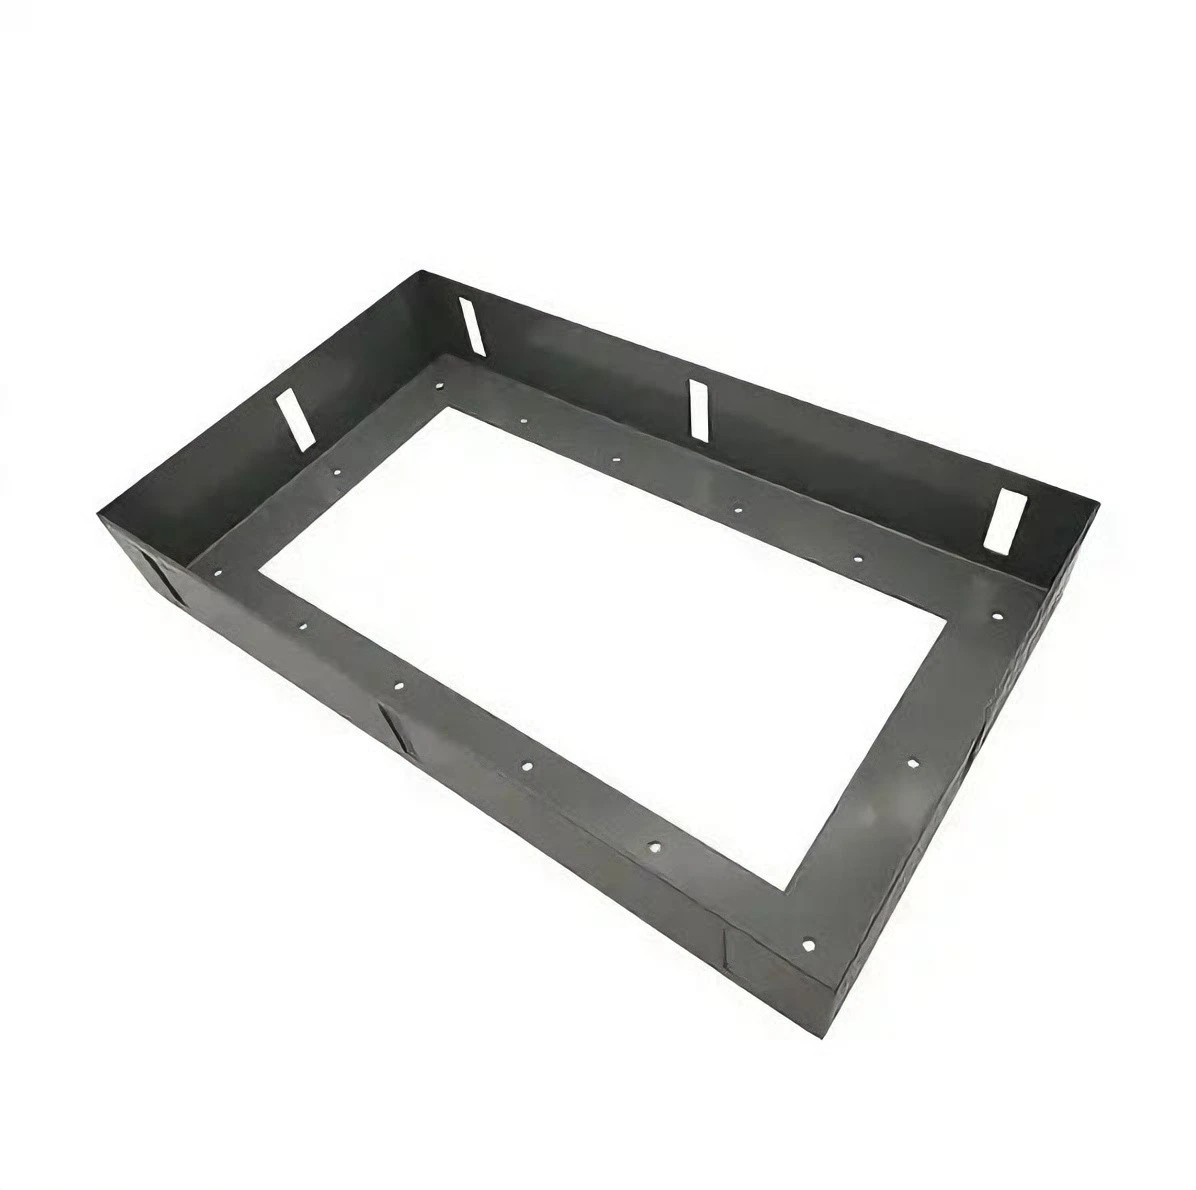
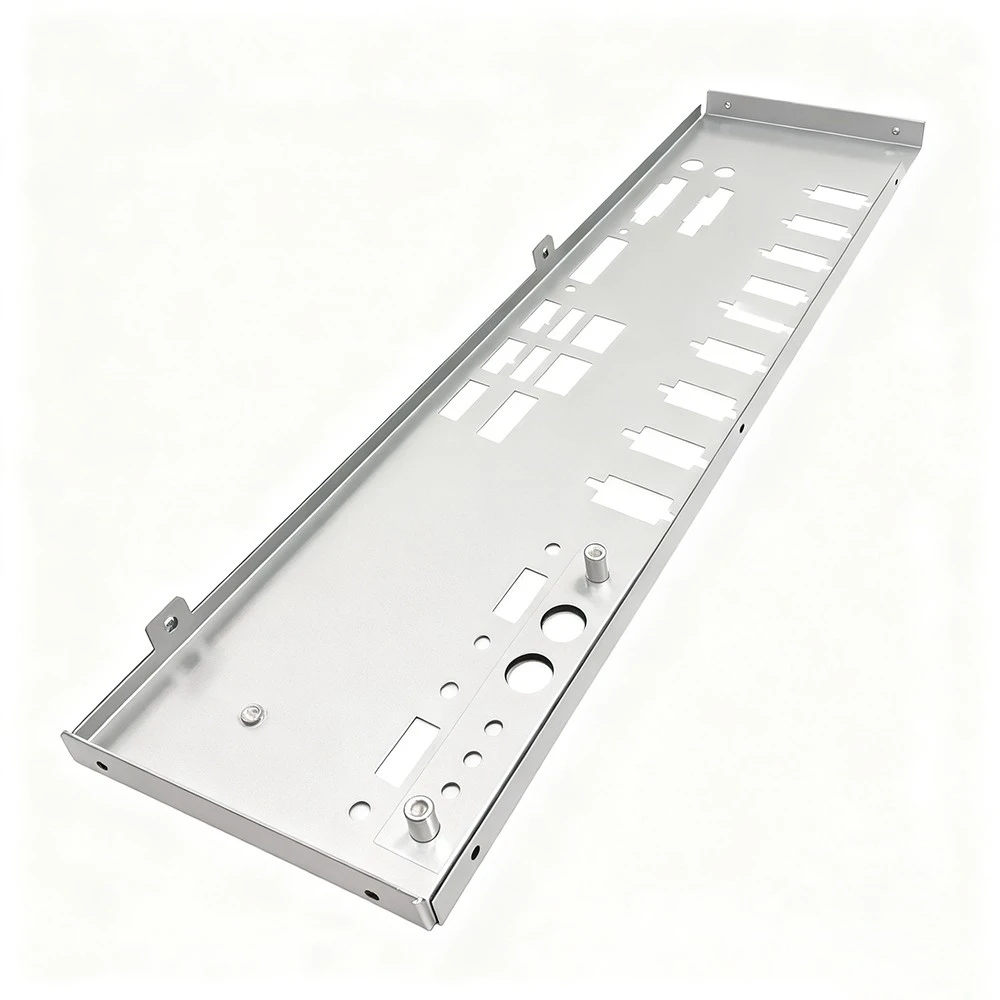
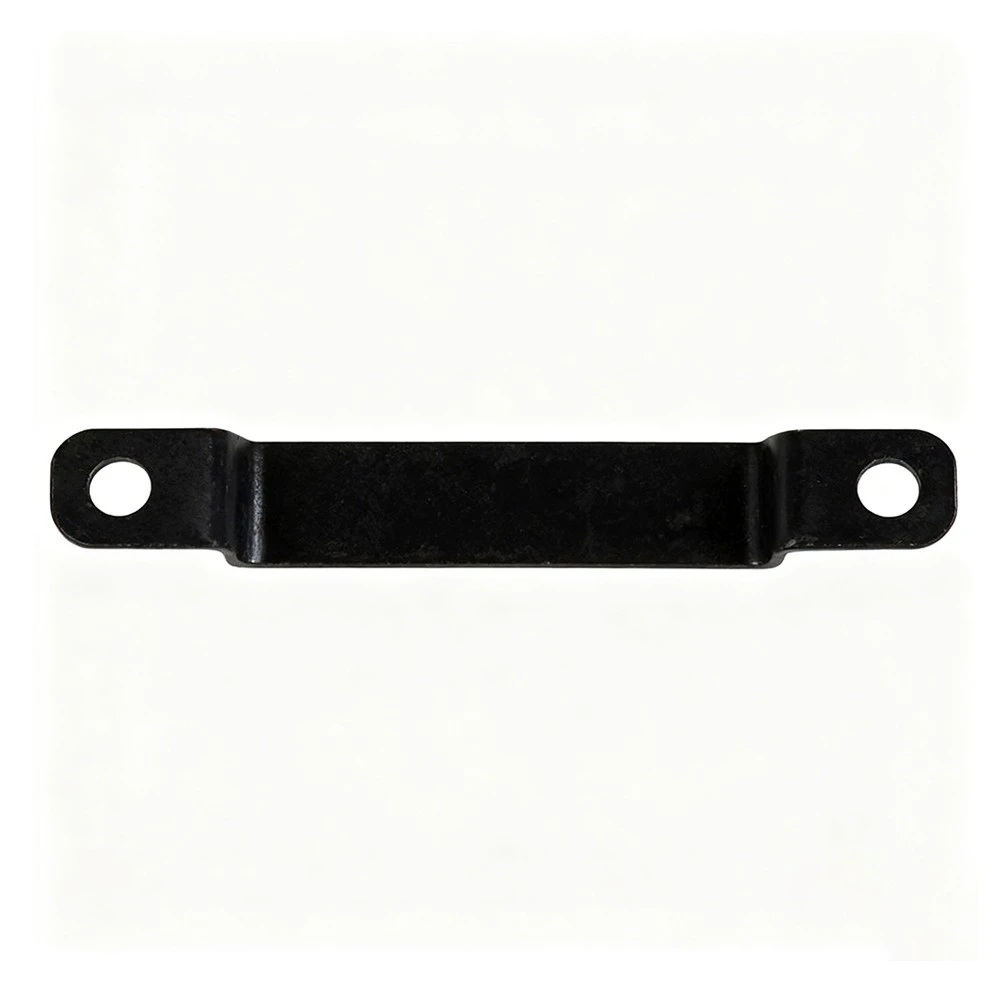
Analysis of the Five Key Factors Affecting the Sheet Metal Quality
In the modern sheet metal processing and manufacturing industry, sheet metal parts are the core basic parts that constitute the structure and shell of various products. The quality of sheet metal parts directly affects the performance, reliability and overall image of the terminal products. From automobile bodies, electronic equipment chassis to precision instrument shells, the precision, strength and appearance of sheet metal parts play a key role. As a professional sheet metal manufacturers in China, this article will systematically analyze the five core factors that affect the quality of sheet metal parts and provide a clear path for manufacturing process optimization.
1. Material selection: the foundation of quality
The quality of sheet metal parts is first rooted in the material itself, and its characteristics profoundly affect the final result like genes:
Material characteristics determine process boundaries:
Strength and hardness: Although high-strength steel (such as SPCC, DC04) provides good support, it places higher requirements on mold wear and forming force; stainless steel with high hardness (such as SUS304) rebounds significantly when bent, requiring special process compensation.
Ductility and plasticity: Aluminum plates (such as 5052-H32) perform well in complex forming such as deep drawing due to their excellent ductility, which can reduce the risk of cracking.
Anisotropy: There are differences in the mechanical properties of cold-rolled steel plates in the rolling direction and the vertical direction, which affects the selection of the bending line direction and precision control.
Hidden risks of material defects:
Surface defects: Defects such as scratches, oxide scales, and rust spots are difficult to cover in subsequent spraying, which directly affects the appearance grade.
Internal defects: Hidden dangers such as inclusions and pores may induce sudden cracking during the punching or forming process.
Thickness tolerance fluctuation: Out-of-tolerance thickness fluctuations (such as nominal 1.5mm actually varying between 1.45-1.58mm) will accumulate and lead to out-of-tolerance assembly accuracy.
Material selection strategy: Comprehensive evaluation based on product functions (strength, conductivity, corrosion resistance), process requirements (molding complexity) and cost constraints, and strict factory inspection (thickness measurement, surface inspection, mechanical properties sampling) to ensure that the quality of raw materials is under control.

2. Processing equipment accuracy: the precision cornerstone of modern manufacturing
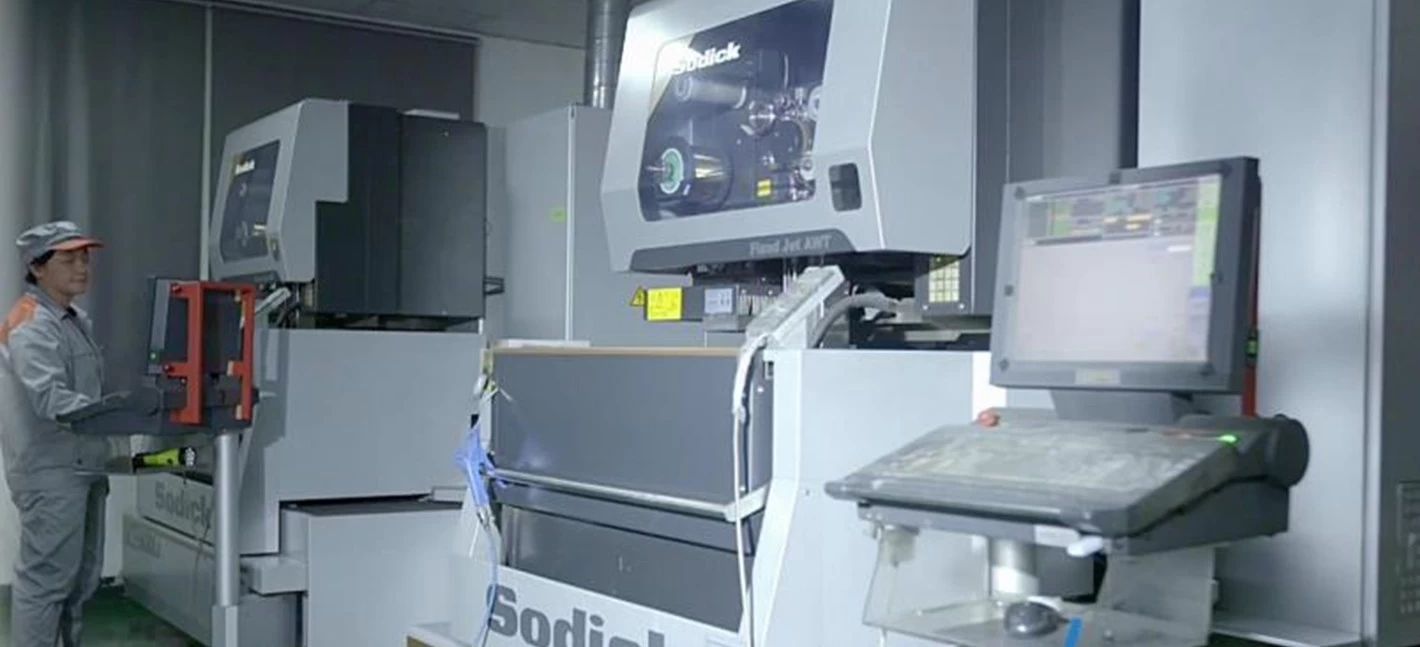
High-precision and high-stability equipment is the physical guarantee for the production of high-quality sheet metal parts:
Core accuracy indicators of machine tools:
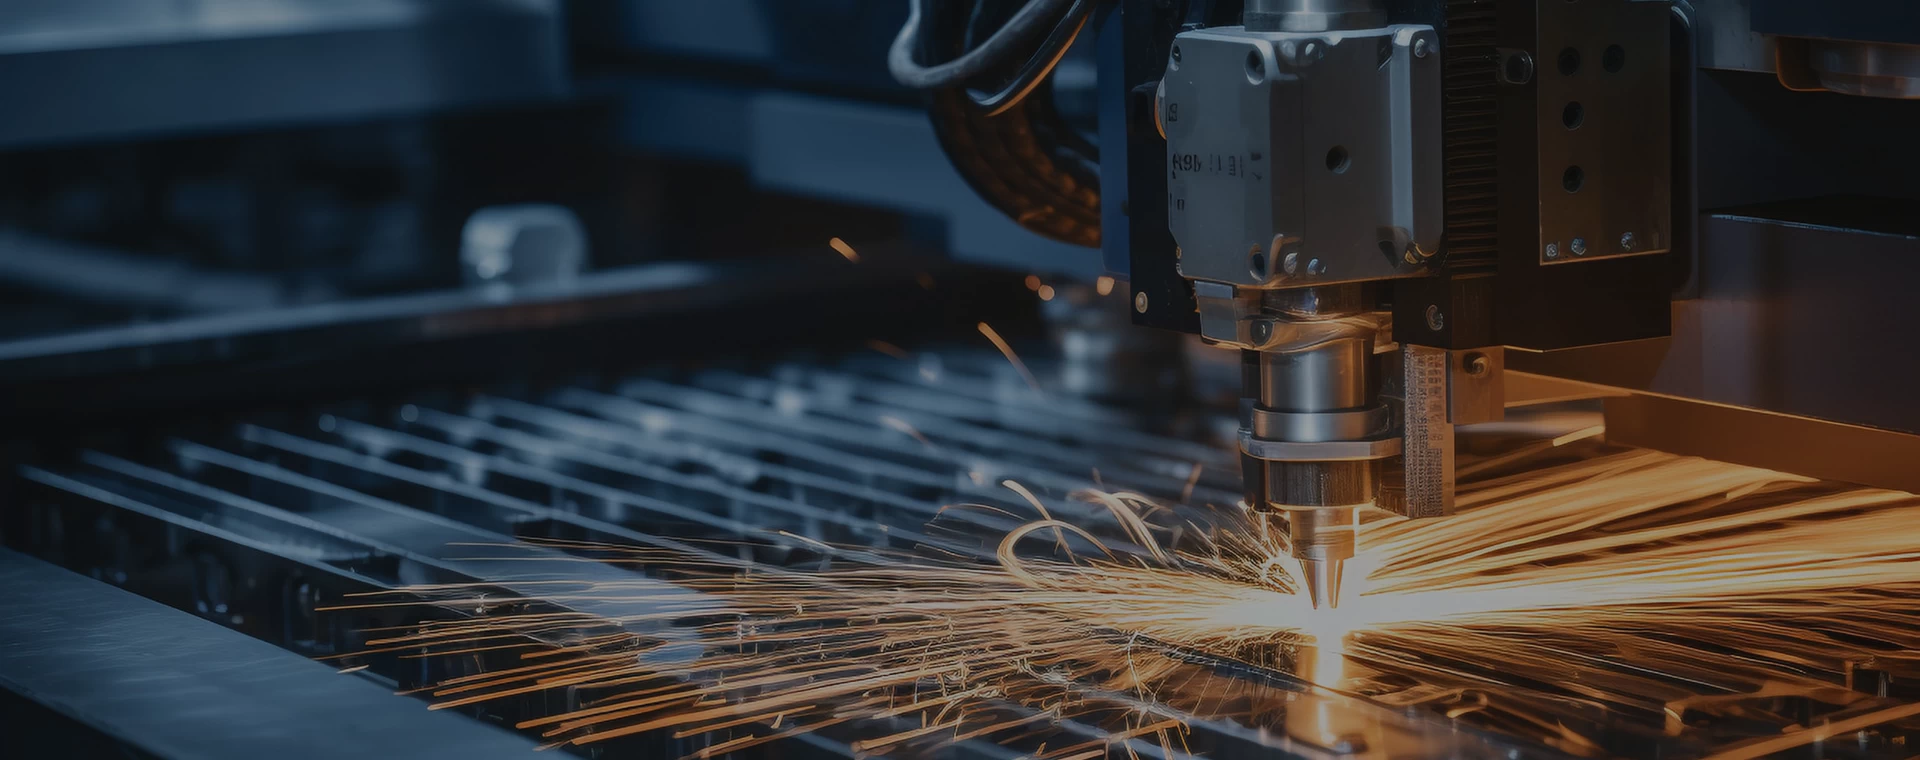
Positioning accuracy and repeat positioning accuracy: The positioning accuracy (such as ±0.03mm) and repeat accuracy (such as ±0.01mm) of laser cutting machines and CNC punching machines directly determine the accuracy of hole positions and contour dimensions.
Dynamic stability: When running at high speed (such as high-speed stamping and laser cutting), the vibration resistance of the equipment affects the verticality and surface roughness of the cut.
Geometric accuracy: The parallelism and verticality errors between the slider and the worktable of the bending machine will cause the bending angle to be inconsistent along the length direction.
The key role of the tool and laser system:
Tool status: The wear of the punch and die (edge passivation) will cause the blanking burr to increase and the cross-section quality to deteriorate. In laser cutting, focusing mirror contamination or nozzle wear will significantly reduce the cutting cross-section quality and speed.
Laser performance: Beam quality (M² value) and power stability are crucial to the cutting speed and cross-section finish of materials such as stainless steel and aluminum.
Key points of equipment management: Implement strict regular maintenance plans (lubrication, cleaning, inspection of key components), perform periodic precision inspections and compensation (such as laser optical path calibration, bending machine deflection compensation), and establish a tool life management system to replace worn tools in a timely manner.
3. Mold and tooling design: the shaper of molding quality
The mold is the core tool for converting materials into designed shapes. The quality of its design determines the feasibility and quality of molding:
The rationality of design determines success or failure:
Bending mold: Improper selection of the R angle of the upper die (Punch) tip and the V groove width of the lower die (Die) will lead to excessive thinning or even cracking of the material in the bending deformation zone (R angle is too small or V groove is too narrow), or cause angle rebound to be out of control (V groove is too wide).
Punching mold: The punching gap (usually 5%-15% of the material thickness) is the key parameter. If the gap is too small, the punching force will increase, the mold wear will increase, the cross-section bright band will be narrow and the burr will be high; if the gap is too large, the cross-section will be tilted, the burr will also increase, and the hole edge will easily produce obvious collapse angle.
Forming mold (stretching, flanging, etc.): Improper design of the corner radius and the blanking force of the convex and concave molds can easily cause fatal defects such as wrinkling and cracking.
Manufacturing accuracy and life:
The processing accuracy of the mold itself (surface size, matching clearance) is directly copied to the product.
The selection of mold materials (such as Cr12MoV hard alloy) and heat treatment process determine its wear resistance and service life. The size of low-life molds will deteriorate rapidly during mass production.
The core of mold management: Make full use of CAE simulation in the design stage (such as AutoForm to analyze molding feasibility and springback prediction); strictly control the accuracy of the manufacturing process; implement regular maintenance (sharpening, cleaning) and key dimension monitoring in mass production.
4. Process parameter setting: dynamic regulating valve for quality control
Even if the materials, equipment and molds are excellent, improper process parameter setting will still directly lead to defects:
Bending process: Bending speed that is too fast may cause scratches on the material surface; too slow will reduce efficiency. Insufficient downward pressure (or pressure) will lead to inaccurate angles; too much pressure will aggravate rebound or produce indentations. Accurate rebound compensation (over-bending angle) is the core of ensuring the angle.
Laser cutting: Power, cutting speed, auxiliary gas type (O₂, N₂, air) and pressure must accurately match the material type and thickness. Improper parameters will lead to slag (power/speed is too low), overburning (power is too high/speed is too slow), incomplete cutting or rough cutting surface.
Stamping: Blanking speed, blanking force (used in the stretching process to prevent wrinkling), lubrication conditions, etc. have a significant impact on molding quality and mold life.
Process stability:
Environmental factors (such as temperature fluctuations affecting laser output stability and material properties) need to be monitored.
Minor differences in batch materials may require adaptive fine-tuning of process parameters.
Process optimization approach: Establish a detailed process parameter database; perform rigorous process experiments (DOE method) to determine the optimal window; strengthen parameter monitoring and recording during the production process; operators need to have a deep understanding of the meaning of parameters and have the ability to adjust them.
5. Quality control system: a quality assurance network throughout the process
China quality sheet metal fabrication is the result of systematic control, rather than relying on a single link:
Incoming material inspection (IQC): Confirmation of material brand, thickness, surface state, and mechanical properties (if necessary).
First article inspection (FAI): Comprehensive size and appearance inspection of the first product after a new batch, mold change, or mold repair is crucial.
Process inspection (IPQC): Regular sampling inspection of key dimensions (such as bending angle, hole position), appearance quality (burrs, scratches), and equipment parameter stability.
Final inspection (FQC/OQC): Batch inspection of product functions, key dimensions, and appearance before shipment. Commonly used precision measuring tools (calipers, height gauges, micrometers, R gauges), professional inspection tools (such as hole position inspection tools, contour templates), and efficient three-coordinate measuring machines (CMMs) and laser scanning equipment.
Standard clarification and traceability:
Clearly define the criteria for various defects (burr height acceptance standard, scratch depth/length limit, dimensional tolerance zone) (based on drawings, national standards/industry standards such as ISO 2768, enterprise standards).
Establish a complete product identification and traceability system to ensure that the source (material batch, production equipment, operator, production period) can be quickly located when problems occur.
Data-driven continuous improvement:
Systematic collection and analysis of various inspection data, production data, and equipment status data.
Use quality tools (such as SPC control charts to monitor process stability, Pareto analysis of major defect types, and fishbone diagrams for root cause analysis) to find the root cause of the problem.
Implement the PDCA cycle (Plan-Do-Check-Act) to promote continuous improvement in processes, molds, operations, etc.
Core value of the system: Timely discover and intercept defective products from flowing into the next process or customers; provide basis for improvement; ensure quality consistency and traceability, and reduce quality risk costs.
The high-quality output of China steel sheet metal fabrication is by no means accidental, but a systematic project in which the five key factors of materials, equipment, molds, processes, and management are closely linked and precisely coordinated. Under the wave of Industry 4.0, the integration of intelligent equipment and digital systems (such as real-time process monitoring and AI-driven defect identification) is injecting new impetus into quality control. Only by deeply understanding and continuously optimizing these five elements can enterprises build core competitiveness in the fiercely competitive market with stable and reliable sheet metal quality, and provide a solid foundation for the high quality of terminal products. Only by pursuing excellence in every link can we forge industrial quality that can truly stand the test of time in the extension and shaping of metal.

